
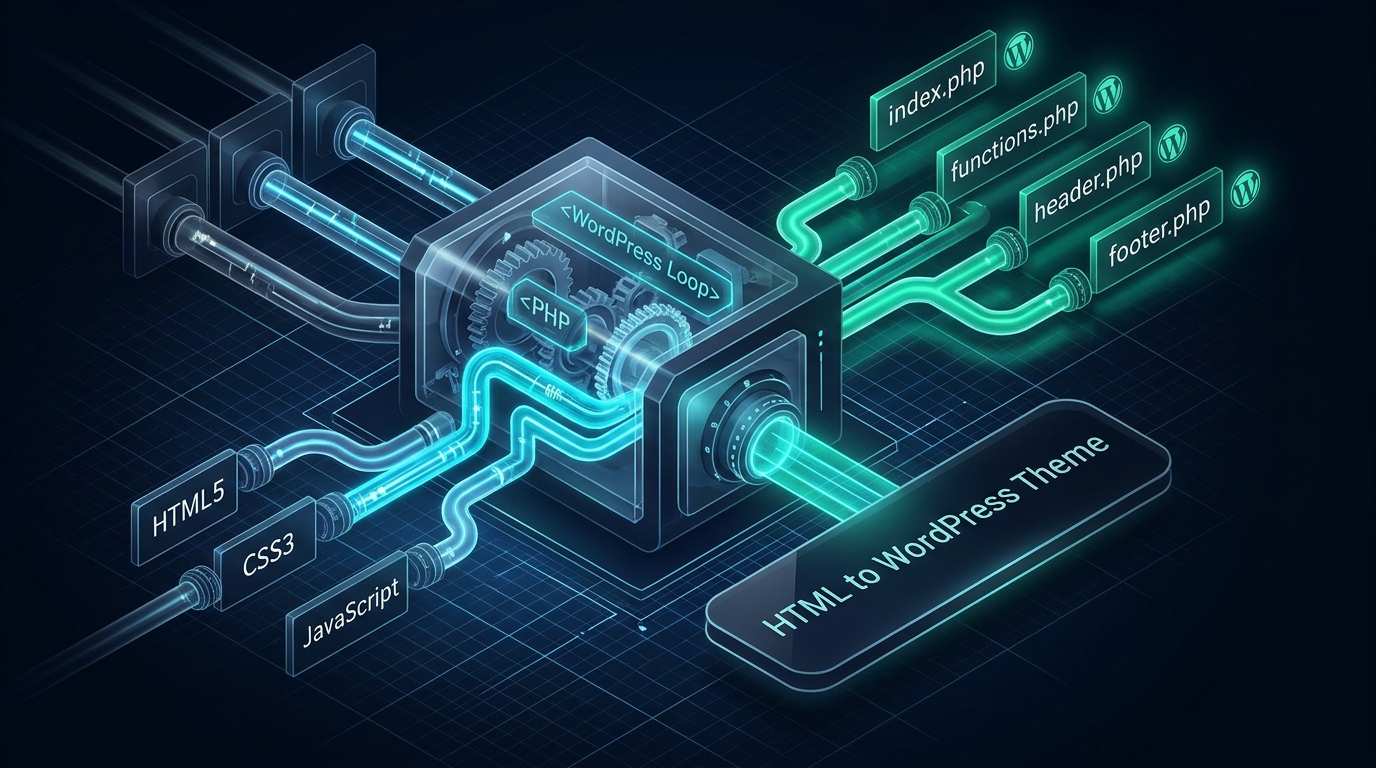
Quick Developer Summary: HTML to WordPress Conversion
Converting a static HTML/CSS/JS template into a native WordPress theme requires 5 core structural steps: 1) Create a new theme directory inside /wp-content/themes/ containing required files (style.css with theme headers, index.php, functions.php), 2) Deconstruct static markup into modular template parts (header.php, footer.php, sidebar.php), 3) Enqueue styles and JavaScript via the wp_enqueue_scripts action hook rather than hardcoding tags, 4) Implement The WordPress Loop (have_posts(), the_post()) to dynamically render database posts and pages, and 5) Register dynamic navigation menus and widgetized sidebars.
Static HTML5 templates offer lightning-fast client-side rendering and complete stylistic flexibility during the prototyping phase. However, as an organization scales, non-technical marketing teams cannot manually edit raw HTML files and deploy via FTP every time a product announcement or blog update goes live. Migrating static templates into dynamic, database-backed WordPress themes combines the precision of bespoke front-end code with the effortless content editing of the world’s leading content management system.
In this technical 2026 developer walkthrough, we break down the exact file hierarchy, hooks, and clean PHP practices needed to convert any static Bootstrap, Tailwind, or custom HTML5 design into an ultra-fast, security-audited WordPress theme.
HTML Template vs Native WordPress Theme Architecture
Step 1: Set Up the Theme Directory and Style Header
Navigate to your WordPress installation directory on your server (e.g., /wp-content/themes/) and create a distinct folder for your custom theme, such as meratheme.
Inside this folder, create your primary stylesheet named style.css. WordPress requires specific metadata in the CSS comment block to recognize and register the theme in the WP Admin Dashboard:
/*
Theme Name: Mera Custom High-Performance Theme
Theme URI: https://merahost.org/wordpress-hosting/
Author: Development Team
Author URI: https://merahost.org/
Description: Ultra-fast bespoke WordPress theme converted from clean HTML5 markup.
Version: 1.0.0
Requires at least: 6.0
Tested up to: 6.8
Requires PHP: 8.2
License: GNU General Public License v2 or later
Text Domain: meratheme
*/

/* Your original template styles below */
Step 2: Modularize Static HTML into Template Files
Open your static index.html file in your IDE. You will split its linear structure into reusable PHP components:
1. Extracting header.php
Cut everything from the opening <!DOCTYPE html> down to the start of your main content container (usually closing the </header> or </nav> tag). Save this as header.php. Ensure you replace hardcoded title tags with wp_head() immediately before the closing </head>:
<!DOCTYPE html>
<html <?php language_attributes(); ?>>
<head>
    <meta charset="<?php bloginfo('charset'); ?>">
    <meta name="viewport" content="width=device-width, initial-scale=1.0">
    <?php wp_head(); ?>
</head>
<body <?php body_class(); ?>>
<header class="site-header">
    <div class="container">
        <a href="<?php echo esc_url(home_url('/')); ?>" class="brand"><?php bloginfo('name'); ?></a>
        <?php
            wp_nav_menu(array(
                'theme_location' => 'primary',
                'container'      => 'nav',
                'container_class'=> 'primary-navigation',
            ));
        ?>
    </div>
</header>
2. Extracting footer.php
Cut the footer markup from the closing content tag through the closing </html> tag. Save this as footer.php. Crucially, insert wp_footer() right before </body>:
<footer class="site-footer">
    <div class="container">
        <p>© <?php echo date('Y'); ?> <?php bloginfo('name'); ?>. All Rights Reserved.</p>
    </div>
</footer>
<?php wp_footer(); ?>
</body>
</html>
Step 3: Enqueue CSS and JavaScript in functions.php
Never hardcode <link rel="stylesheet"> or <script src="..."> tags directly in your PHP templates. Doing so causes script collisions and breaks caching plugins. Instead, register all assets cleanly using the WordPress wp_enqueue_scripts action hook in functions.php:
<?php
// Enqueue Styles and Scripts
function meratheme_register_assets() {
    // Primary Stylesheet
    wp_enqueue_style('meratheme-main-style', get_stylesheet_uri(), array(), '1.0.0');

    // Custom Vendor CSS (e.g., custom grid or font)
    wp_enqueue_style('meratheme-custom-css', get_template_directory_uri() . '/css/custom.css', array(), '1.0.0');

    // Main Theme JavaScript (loaded in footer with defer/true)
    wp_enqueue_script('meratheme-bundle-js', get_template_directory_uri() . '/js/main.js', array('jquery'), '1.0.0', true);
}
add_action('wp_enqueue_scripts', 'meratheme_register_assets');

// Register Theme Features
function meratheme_setup_features() {
    add_theme_support('title-tag');
    add_theme_support('post-thumbnails');
    add_theme_support('responsive-embeds');

    register_nav_menus(array(
        'primary' => __('Primary Navigation Menu', 'meratheme'),
        'footer'  => __('Footer Utility Menu', 'meratheme'),
    ));
}
add_action('after_setup_theme', 'meratheme_setup_features');Deploy Your Custom WordPress Theme on NVMe Turbo Servers
Custom themes demand fast execution times. MeraHost provides LiteSpeed caching engines, PHP 8.2/8.3 OPcache optimization, and pure NVMe RAID-10 storage starting from just ₹99/month.
Step 4: Implement The WordPress Loop in index.php
With header, footer, and assets modularized, assemble your index.php template to dynamically pull posts from your database:
<?php get_header(); ?>

<main class="site-main container">
    <div class="content-area">
        <?php if (have_posts()) : ?>
            <div class="posts-grid">
                <?php while (have_posts()) : the_post(); ?>
                    <article id="post-<?php the_ID(); ?>" <?php post_class('post-card'); ?>>
                        <?php if (has_post_thumbnail()) : ?>
                            <div class="post-thumbnail">
                                <a href="<?php the_permalink(); ?>">
                                    <?php the_post_thumbnail('medium_large'); ?>
                                </a>
                            </div>
                        <?php endif; ?>

                        <header class="entry-header">
                            <h2 class="entry-title">
                                <a href="<?php the_permalink(); ?>"><?php the_title(); ?></a>
                            </h2>
                            <div class="entry-meta">
                                <span class="posted-on"><?php echo get_the_date(); ?></span>
                                <span class="byline"> by <?php the_author_posts_link(); ?></span>
                            </div>
                        </header>

                        <div class="entry-summary">
                            <?php the_excerpt(); ?>
                        </div>
                    </article>
                <?php endwhile; ?>
            </div>

            <div class="pagination">
                <?php the_posts_pagination(array('mid_size' => 2)); ?>
            </div>

        <?php else : ?>
            <p><?php esc_html_e('No posts found matching your criteria.', 'meratheme'); ?></p>
        <?php endif; ?>
    </div>
</main>

<?php get_footer(); ?>
Step 5: Testing and Activating Your Custom Theme
Once your template files are compiled, log in to your WordPress dashboard, navigate to Appearance > Themes, and you will see your custom theme card. Click Activate.
- Verify Asset Paths: Check your browser console (F12) to ensure there are no 404 errors for images, fonts, or scripts.
- Enable Debug Logging: In your
wp-config.phpfile, temporarily setdefine('WP_DEBUG', true);to catch unclosed tags, undefined PHP variables, or deprecated functions. - Activate Server-Side Caching: On MeraHost LiteSpeed and Nginx environments, configure object caching (Redis) and page caching to achieve sub-200ms TTFB on your custom dynamic theme.
Frequently Asked Questions
What are the absolute minimum files required to create a WordPress theme?
A WordPress theme requires only two files to function: style.css (containing the theme header comment block) and index.php (containing the template output markup). However, production themes typically include functions.php, header.php, footer.php, and single.php.
Can I convert a modern Tailwind CSS or Bootstrap 5 template to WordPress?
Yes. Modern developers bundle Tailwind CSS or Bootstrap utility classes using Vite, Webpack, or npm build pipelines. The compiled CSS is enqueued normally via wp_enqueue_style(), preserving full styling without framework conflicts.
Why should I build a custom theme instead of using an off-the-shelf page builder?
Commercial page builders often inject excessive DOM elements, megabytes of redundant CSS, and dozens of external render-blocking scripts. Bespoke converted themes execute cleanly with minimal database queries, achieving near-perfect 100/100 Google PageSpeed Insights scores.
Does MeraHost support custom WordPress theme development?
Yes. MeraHost provides full SSH terminal access, Git version control integration, WP-CLI preinstalled, and staging environments, allowing developers to push and test custom themes seamlessly.